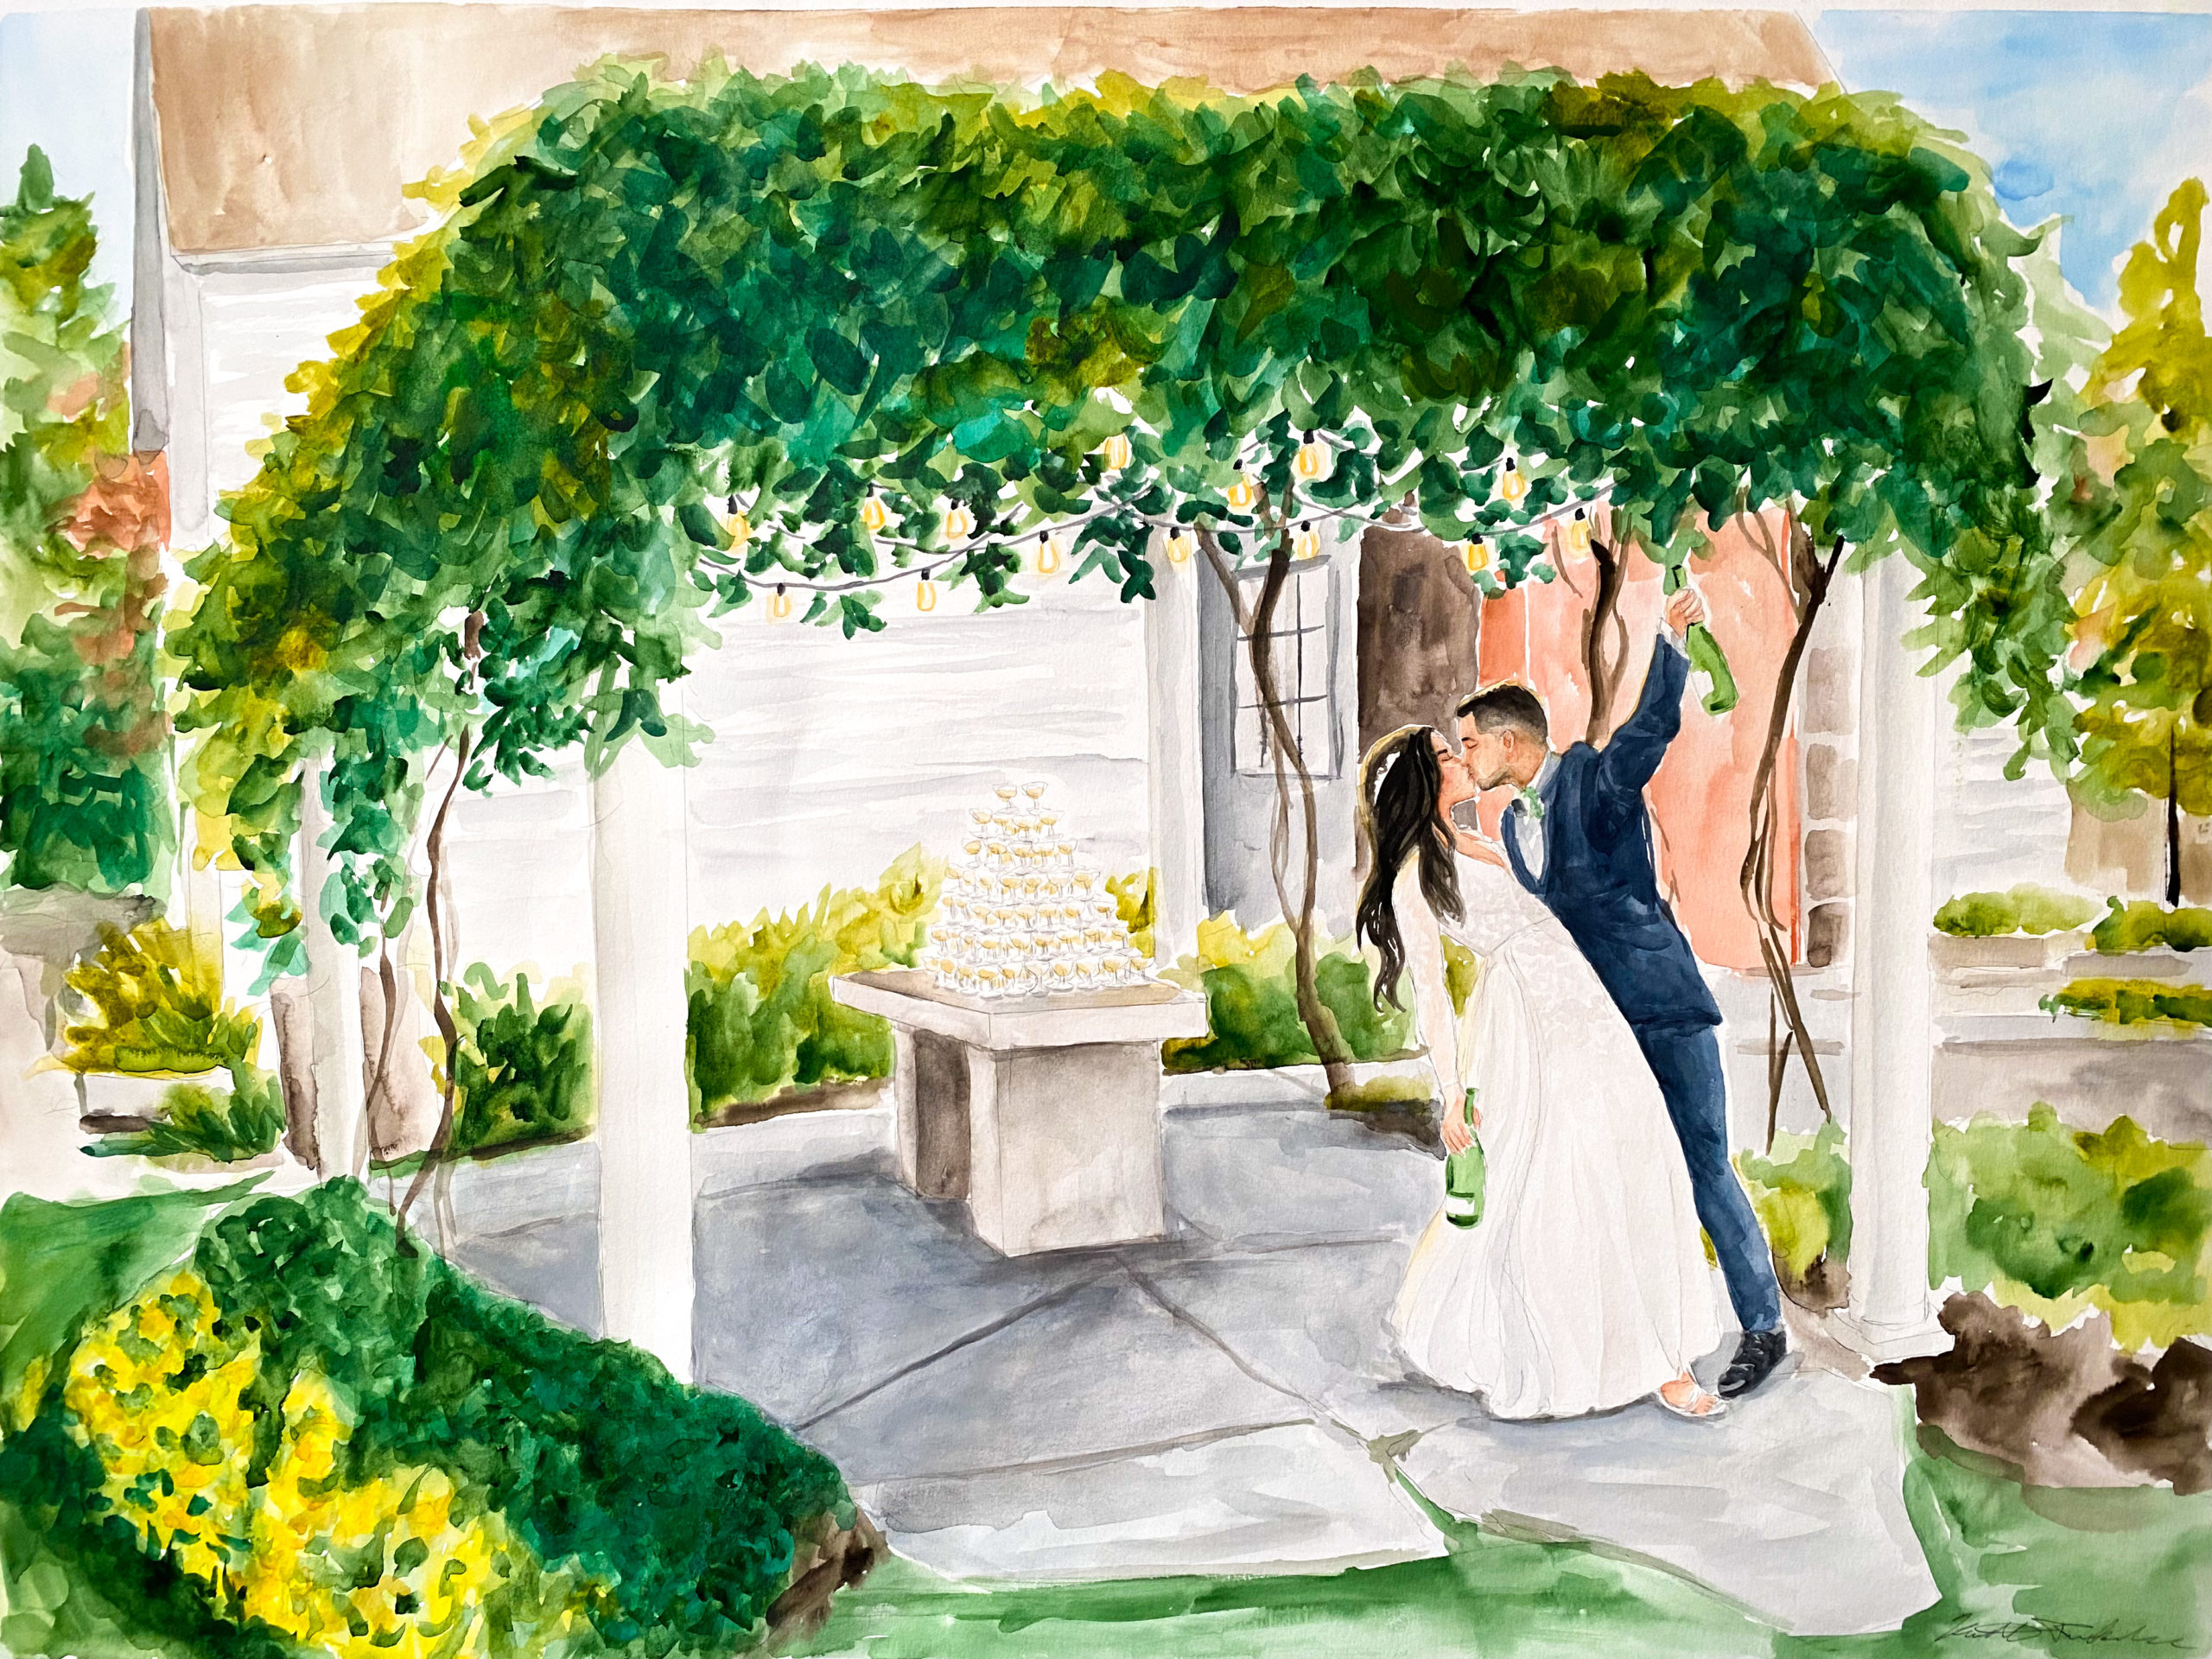
How to Fix a Hole or Tear on Watercolor Paper
February 16, 2022
Maybe something heavy fell on your stack of watercolor paintings. Maybe your dog got a hold of your painting off your desk. Whatever the reason, sometimes mistakes happen and your beautiful piece of art is seemingly ruined.
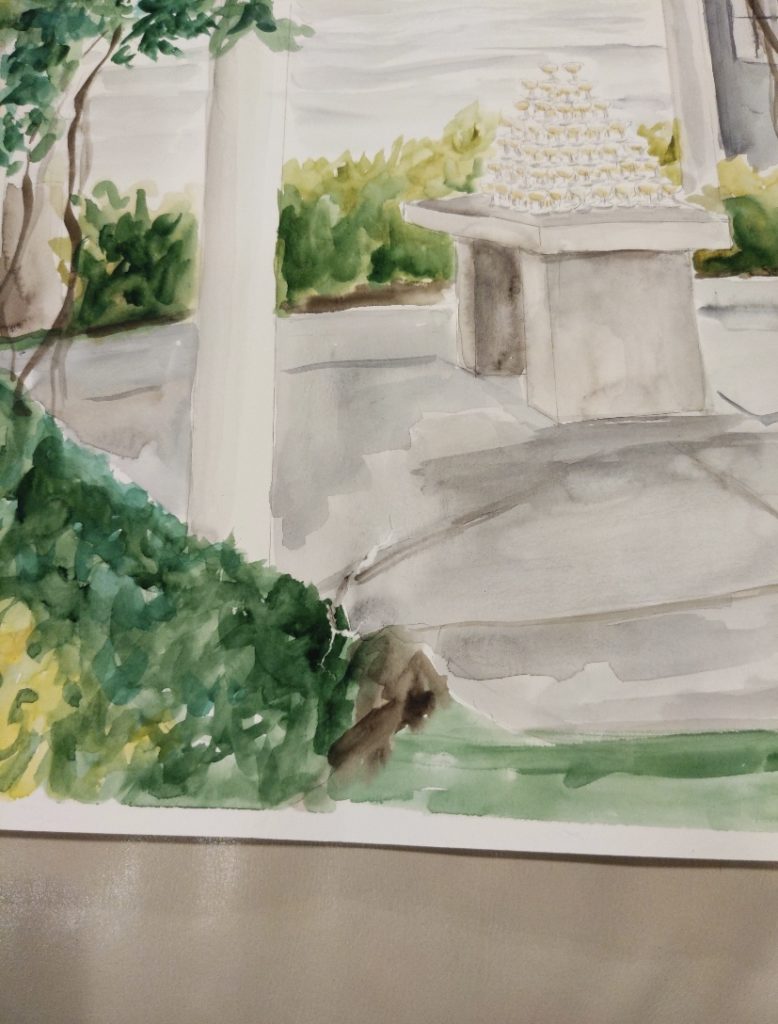
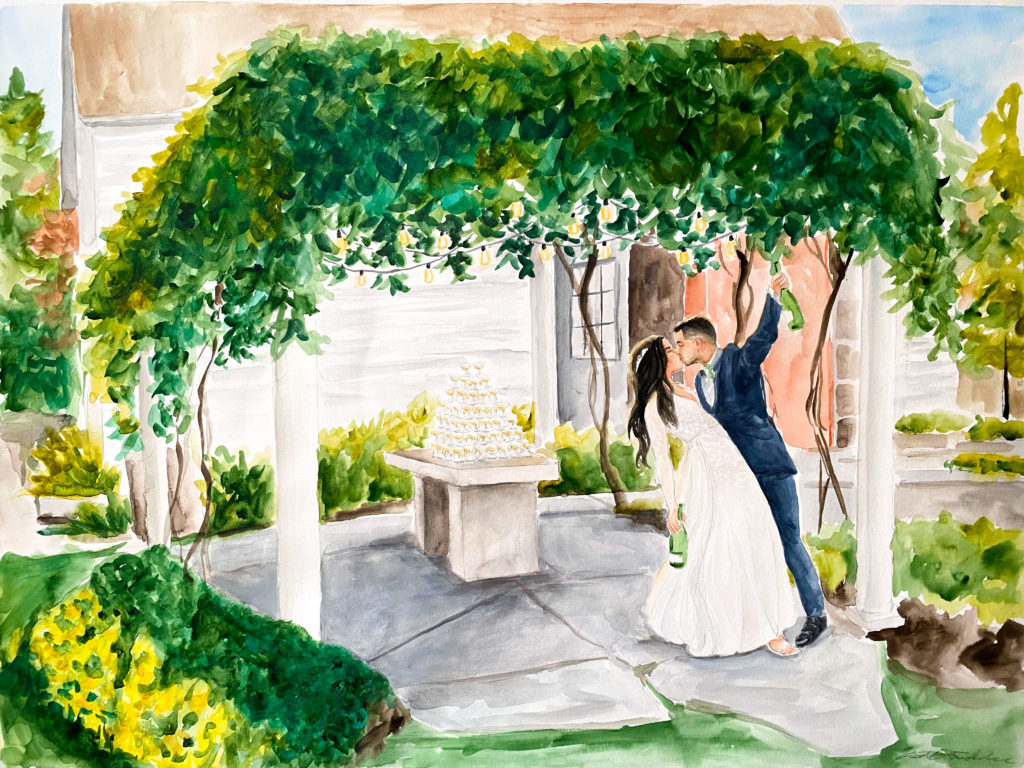
Hello! If you don’t know me, I’m Kaitlin. I’ve been a watercolor artist for about 12 years, and this is my first time restoring a painting of mine that was damaged on its way home from a live painting event.
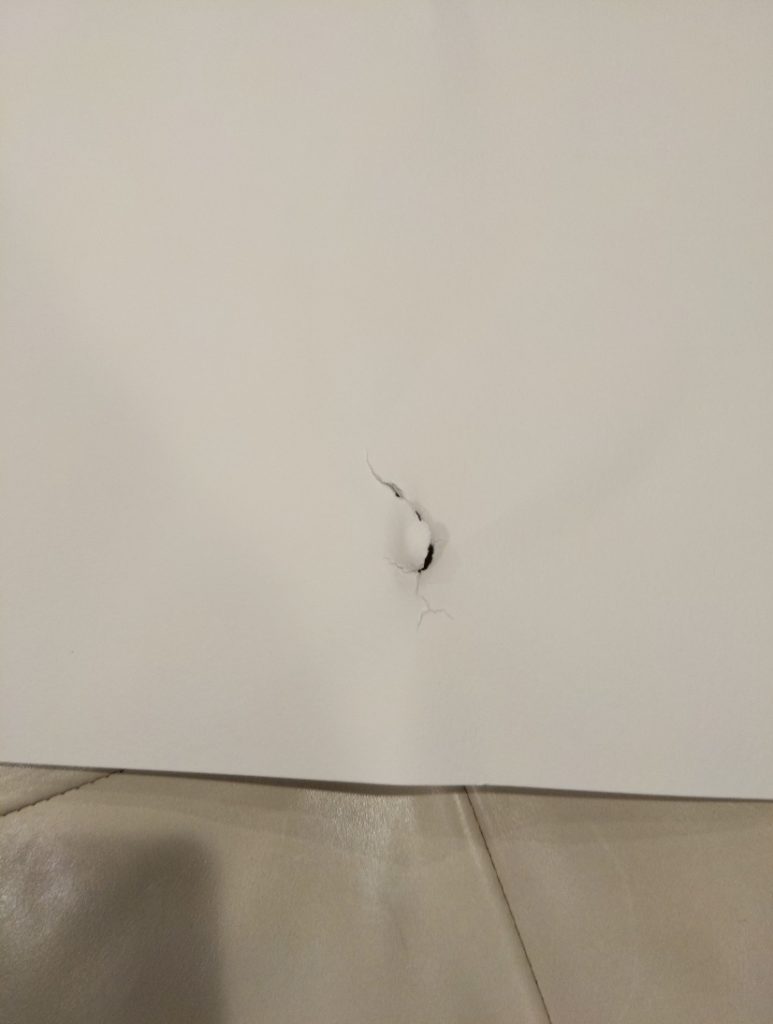
The painting was wrapped in plastic, had a foam core backing, and was in a canvas portfolio bag. From what the recipient told me, the wedding planner placed the bagged painting flat on a car seat and the back of the car seat was folded down on top of it to make room for more wedding decorations that would be going home with the couple. The recipient said she suspected it was on a car seat buckle when the seat was folded down, ripping a hole in the painting.
This was disheartening to hear. It was the fourth live painting I had ever done and wasn’t sure what to do in this situation.
I felt bad for the recipient because of the lack of thought from the planner. I know a professional restoration would have cost a fortune (probably more than the painting itself) and I knew I had the tools and knowledge to at least attempt to fix this for them.
I couldn’t find too many solutions to this problem online, so I’ll explain the steps I took to fix this painting in hopes it can help someone out there.
**Disclaimer: I am not a professional art restorationist, and I would not suggest doing this with an expensive piece of art that is not your own. Please reach out to a professional if that is the case.
Materials you’ll need:
1. Tissue paper (I used white gifting tissue paper)
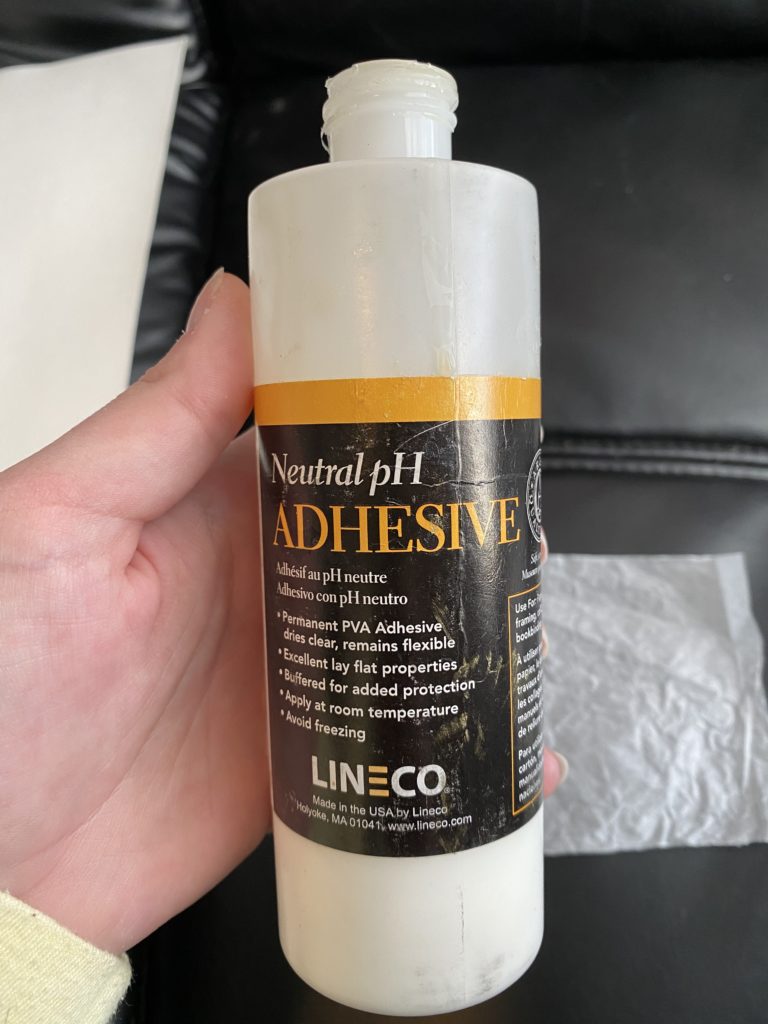
2. Neutral PH Adhesive (I used Lineco brand)
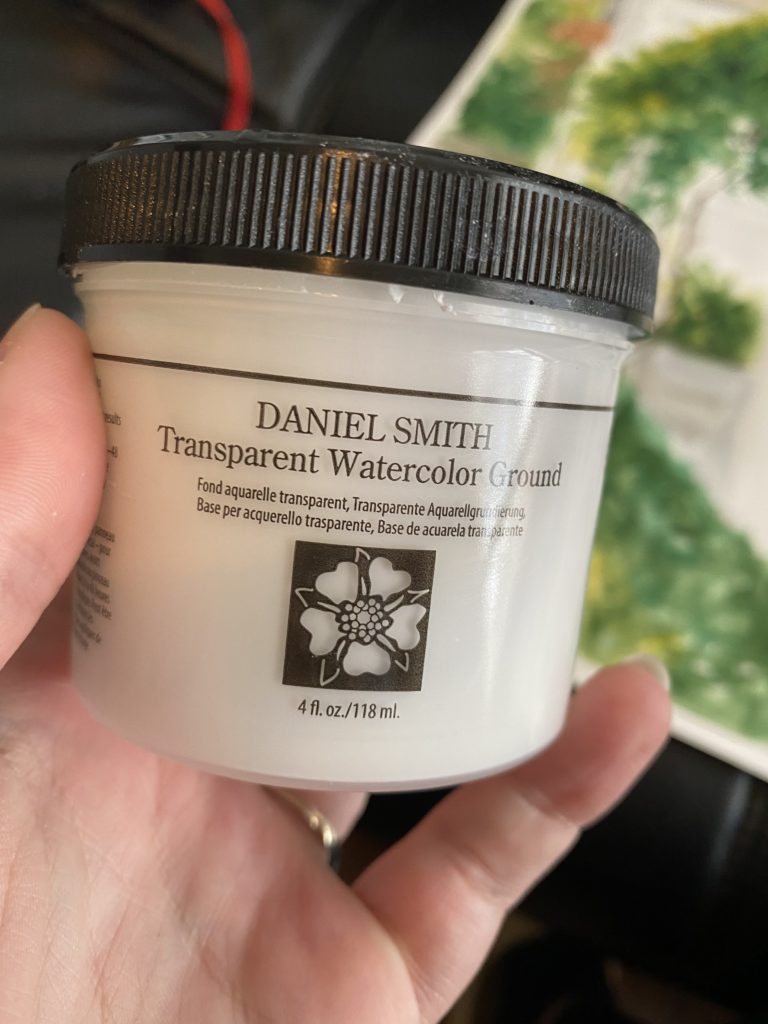
3. Transparent watercolor ground (Daniel Smith Brand)
4. Sandpaper
5. Gouache paint (optional)
6. Watercolor paint
7. Spray bottle of water
Step One:
You’ll want the area of the painting you’re working on to be flat as possible. Spray water on the back of the painting. What I did was sandwich the hole/tear in between a small sketchbook of mine and placed a heavy book on top. Or as long as you’re working on a flat surface area, you could place a flat heavy object directly on the back of the tear. Wait for the paper to dry.
Step Two:
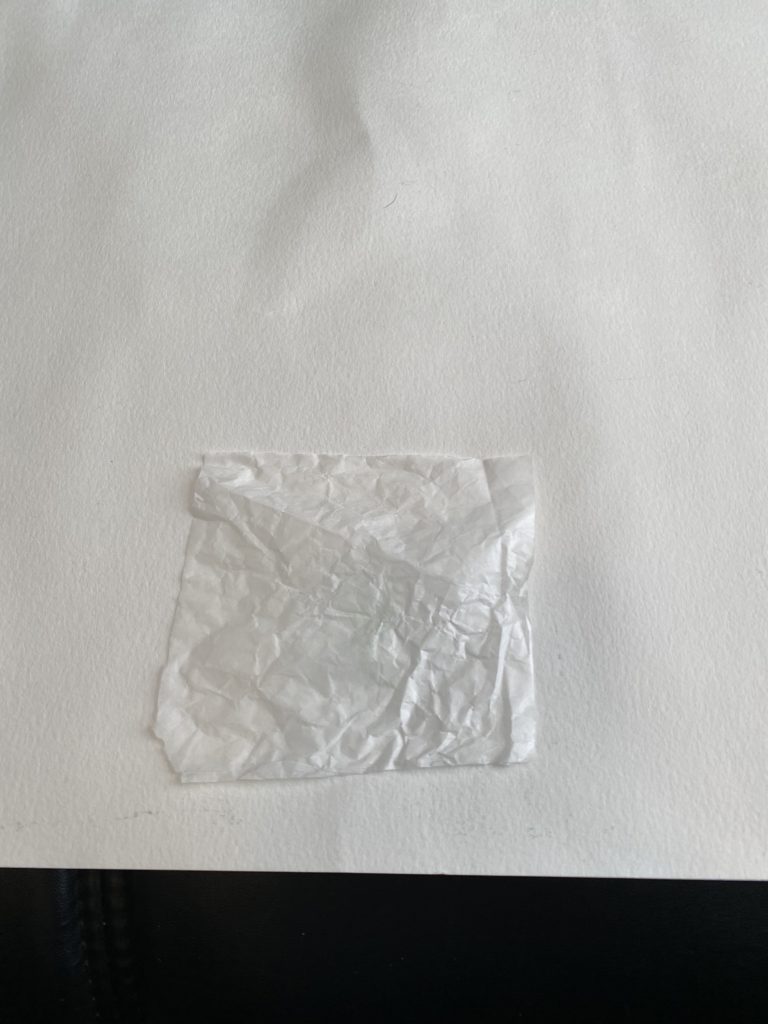
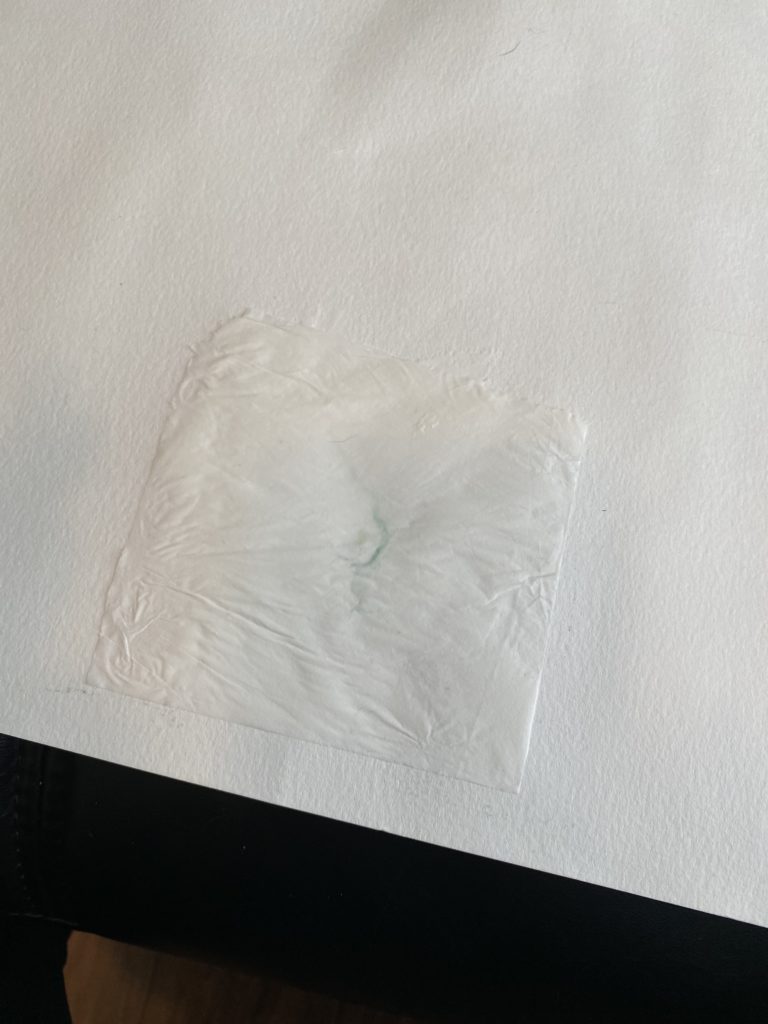
Once the paper is flat and there aren’t any weird flaps sticking up, cut out a piece of tissue paper that will cover the surface area of the tear. Cut enough to give yourself a lot of extra room to work with. Then pour a little bit of neutral adhesive onto the tissue paper and use your finger or a brush to evenly spread it out. Then place to the BACK of the painting over the tear. The neutral adhesive works great because it’s not acidic and shouldn’t compromise the watercolor paper over time. Also, it’s flexible in case you need to roll up your painting for any reason. Wait to fully dry. This can take a couple of hours. I just waited until the next day.
Step Three:
Once the adhesive is fully dry, I sprayed the front of the painting with water and flattened it again with a small sketchbook and a heavy book. Doing this to the front of the painting will most likely have some of the paint come up, but while the glue dried it might have warped the paper a bit. If it seems rather flat, you might be able to skip this step.
Step Four:
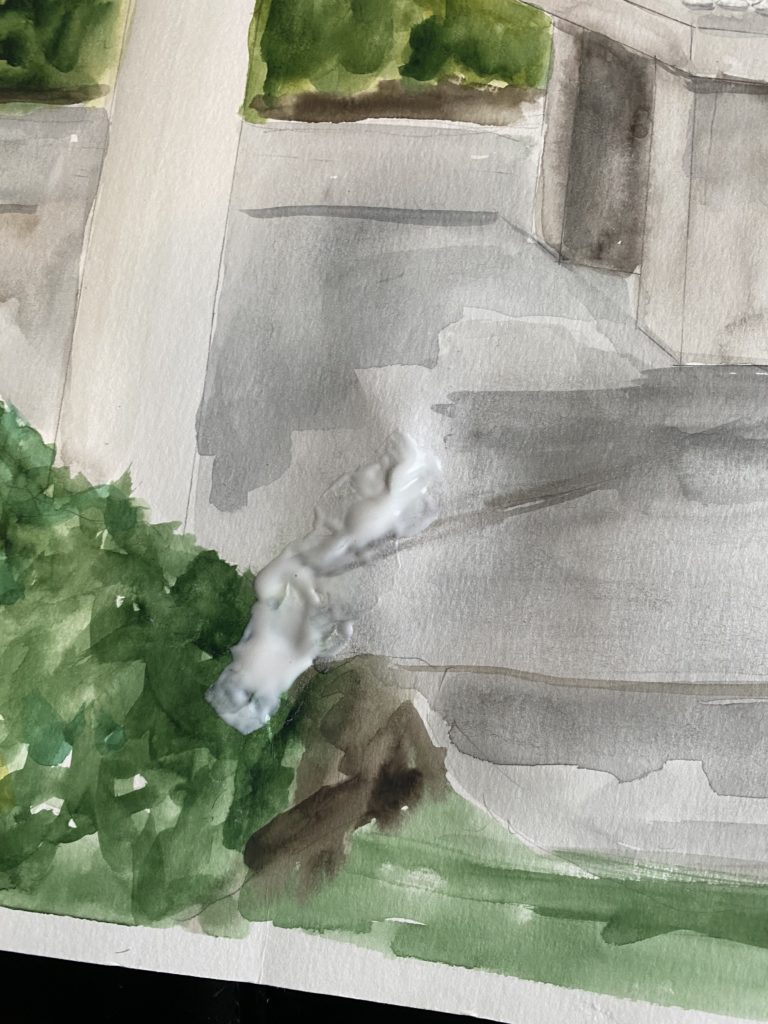
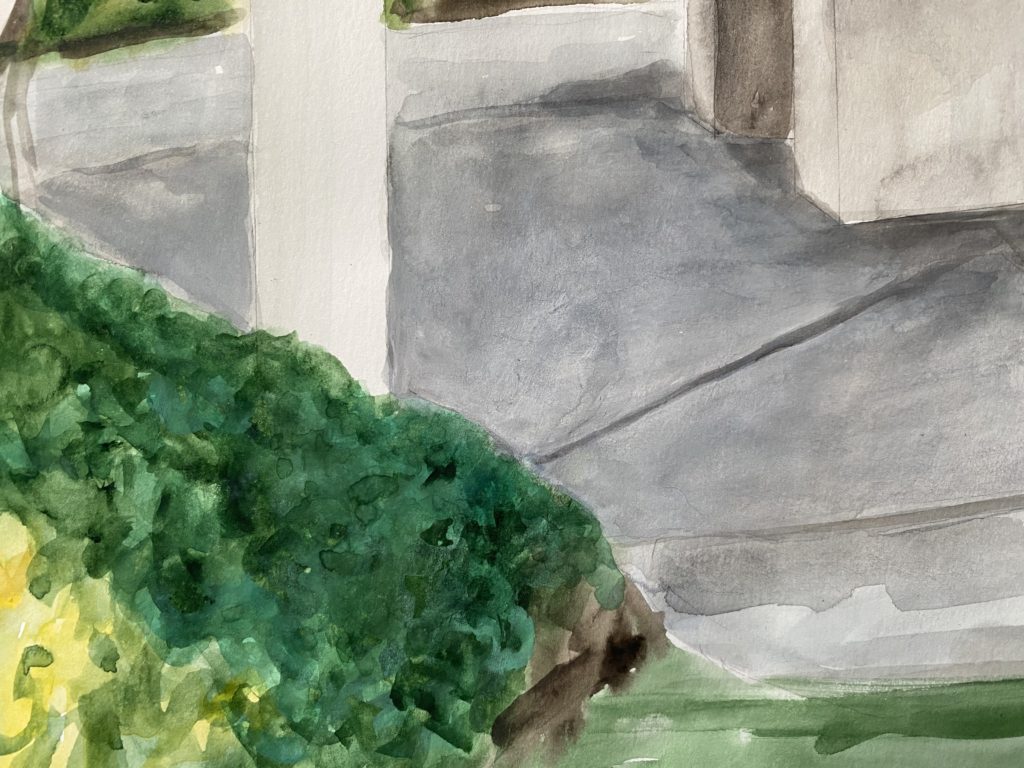
Use a brush to apply the watercolor ground over the tear on the FRONT of the painting. This will fill in any weird gaps or edges. Wait to dry. Daniel Smith brand suggests letting it dry 24-48 hours. I think this is kind of excessive but do as I say not as I do. I think I let mine dry for about 12. Once dry, sand the excess ground so the surface is smooth and there are no odd lumps or edges.
Step Five:
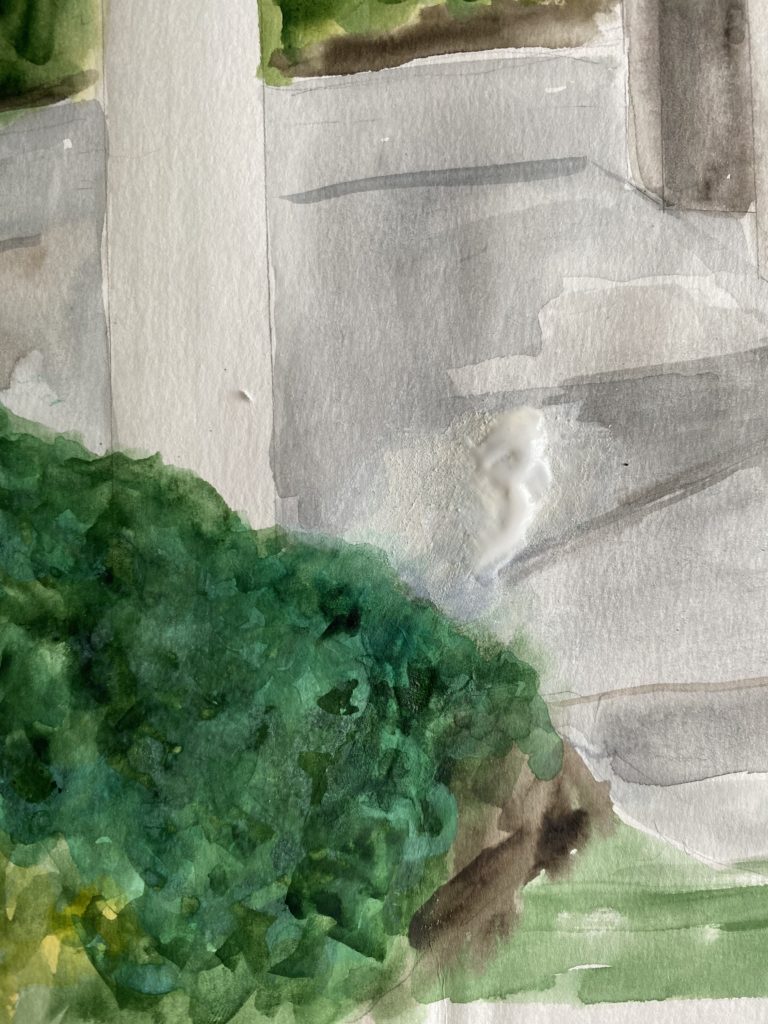
Paint over the ground with watercolor paint. Now at first, my watercolor showed up really light over the ground, and you could still see the tear pretty clearly. This might not be the case for you, in which you would just paint over it and be done with it. I on the other hand decided to add some gouache so it was a bit more opaque and covered the tear a bit better. This worked like a charm.
Optional last step:
Varnish your painting. I don’t always varnish my watercolors, because I’m terrified of it drying inconsistently, and I use archival paper, but it could help add an extra layer of protection if you think your painting needs it.
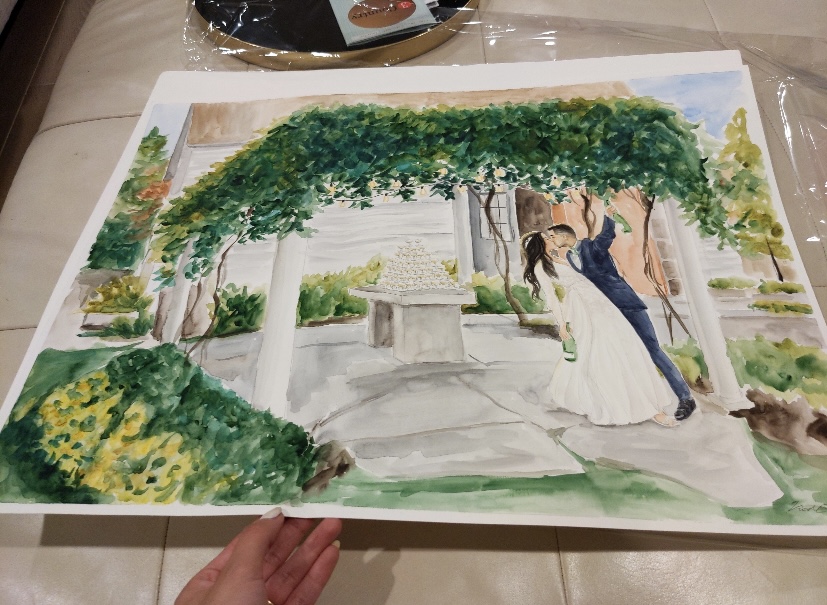
And that’s it! For watercolor paintings, you always want them under glass or acrylic to keep them from getting exposed to moisture or oils and store them flat if you can.
And the lesson I learned from this is to have insurance in place if you’re selling your art professionally and to explain to the handlers of the painting, what steps they need to take to keep the painting safe.
Again, I’m not a professional at restoration, so don’t come at me! Most sites I looked at suggested using this expensive Japanese tissue paper, but that is simply not an option for everyone. All the materials for this I had laying around in my house.
For most artists, this will never happen to them, but I truly hope it helps someone save their painting from being tossed in the trash!
Comment below if you’ve ever had this happen to you, or this blog helped you learn something new 🙂
PLEASE COMMENT BELOW